

How To Remove Phone From T Mobile Account
If you buy an Android phone from whatsoever of the big United states of america carriers, it will come up with several extra apps in addition to any apps the manufacturer preinstalled. Information technology's all in the proper name of profit, of course. Some of these apps are from companies that paid the carriers to distribute their software, and some are from the carriers themselves, usually aimed at upselling you or peradventure collecting a little data.
The whole thing is pretty disgusting, honestly. Take the T-Mobile app as an example. On most phones that come up with information technology preinstalled, you can't fifty-fifty delete the app using conventional methods. The "Disable" button is grayed out in your organization settings and there's no pick to uninstall the app. You take to employ ADB, which typically involves your computer and a command prompt, to remove it.
Only a new feature added in Android ix and finalized in Android 11 now allows you to utilize ADB without a PC. That means you tin merely tap a few buttons, copy and paste some text from this article, and the T-Mobile app volition be gone for expert!
What Y'all'll Demand
- Android nine/One UI one.0 or higher (some models may need Android 11)
- Access to any Wi-Fi network
- $iii to purchase an awesome app from an contained developer
Step 1: Enable Developer Options
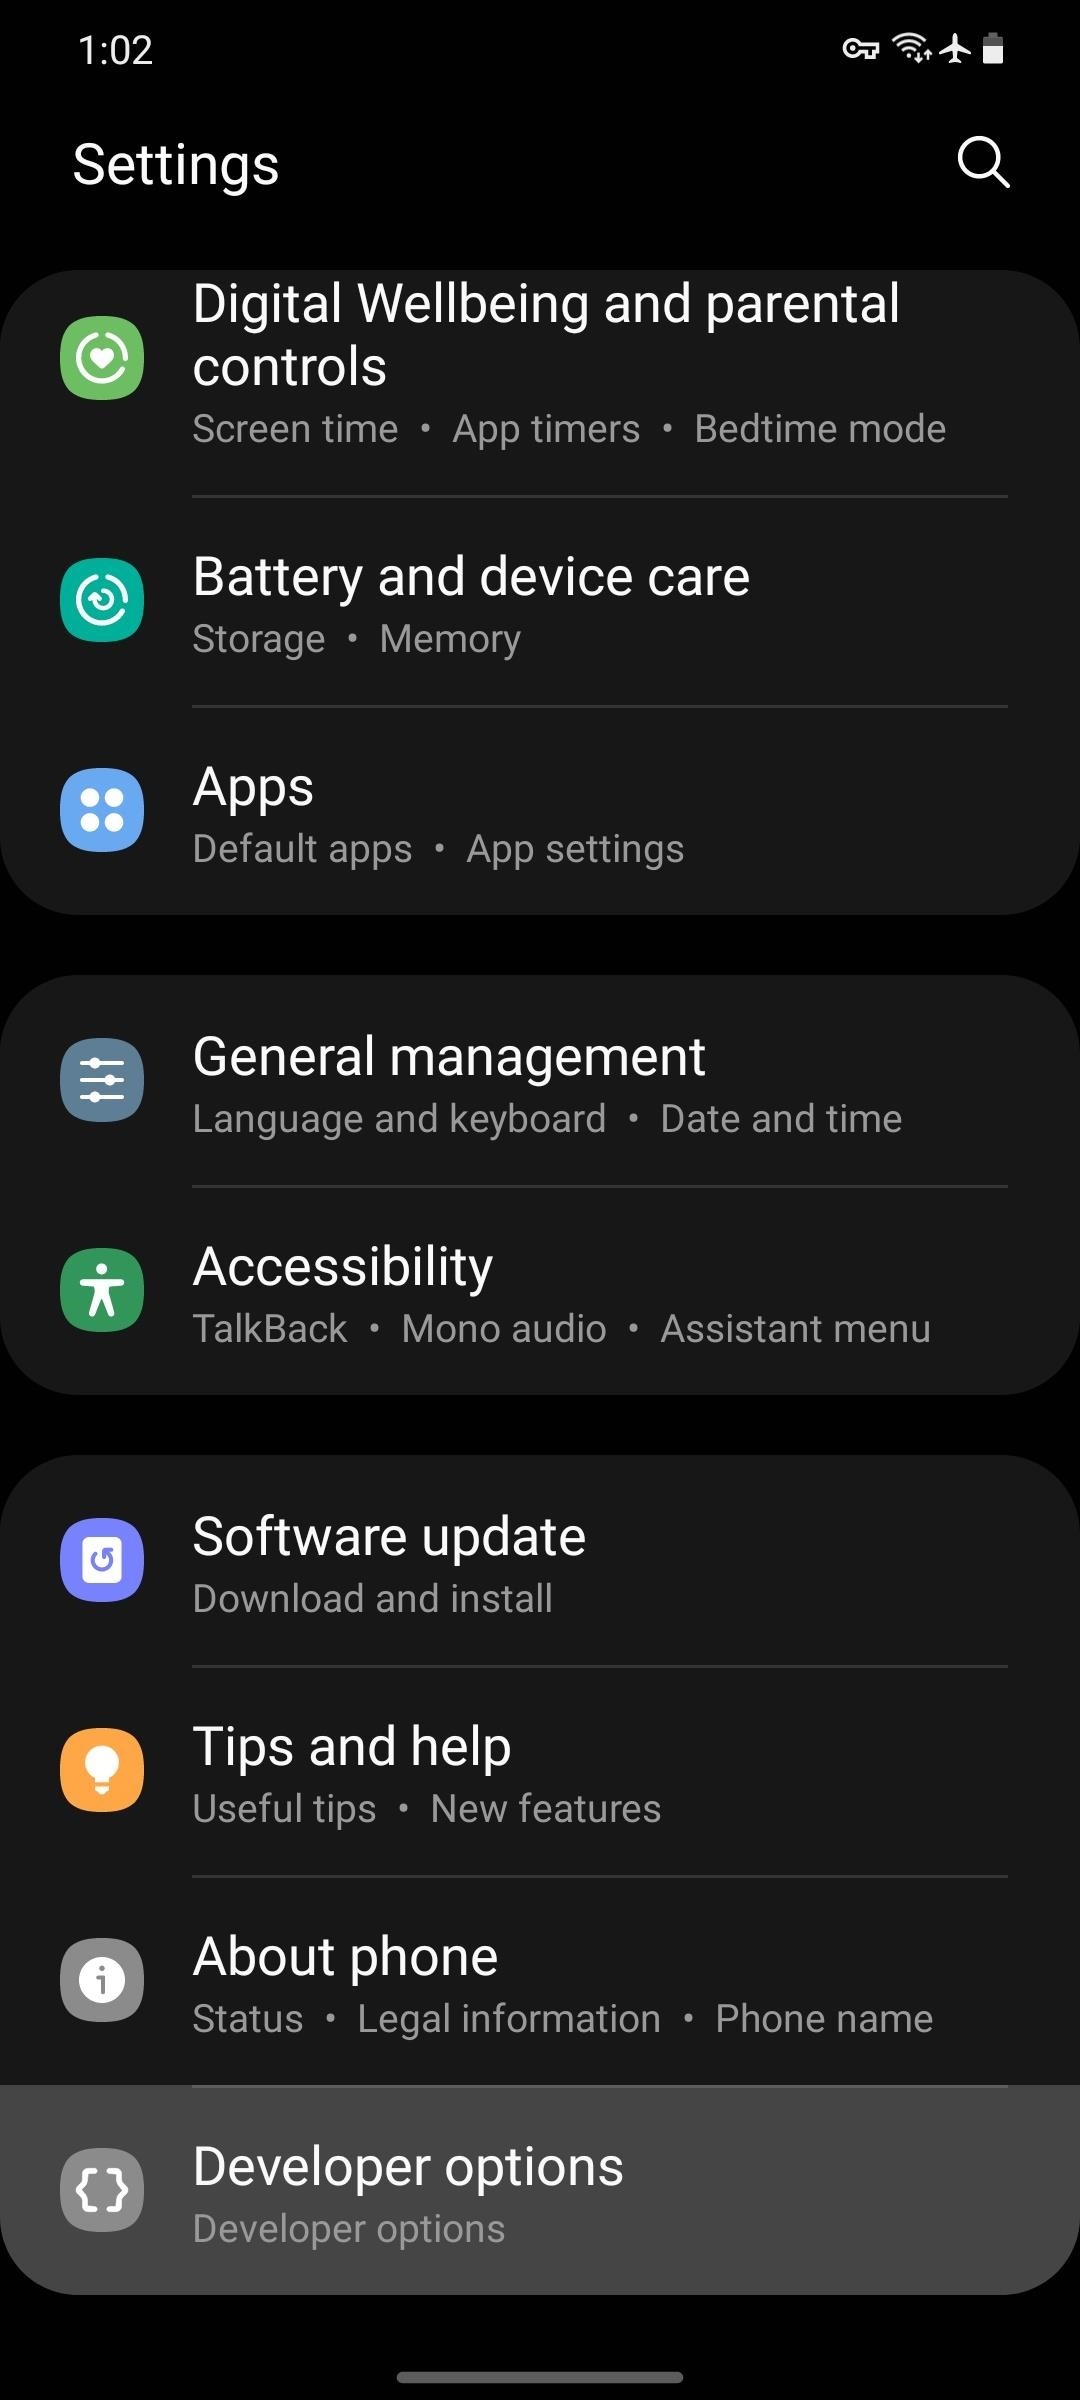
Get-go, open the Settings app from your app drawer (the "All Apps" list) and curlicue down towards the lesser. Here, select "Nigh Phone," and if y'all're on a Samsung, tap "Software Information" subsequently that. Side by side, tap the "Build Number" entry seven times in quick succession to unlock Android's hidden Developer Options menu. If you'd similar more aid, nosotros have a full guide dedicated to this part:
- More Info: How to Unlock Android'south Hidden Developer Options Menu
Step 2: Enable Wireless Debugging
Next, dorsum out to the main Settings menu and whorl down to the bottom to select the newly-unlocked "Developer Options." If you lot don't see it on the main menu, select "System," then "Advanced" to find the Dev Options menu.
Once inside, scroll down just a little bit (mayhap one folio length) and enable the toggle switch next to "Wireless Debugging." If you don't see this choice, it's because some phone manufacturers hid it abroad on their builds of Android nine and 10. It's not hidden anymore on whatsoever devices with Android 11. Just your but option if it'southward not in that location is to gear up a traditional ADB connection, then skip ahead to Step 5.
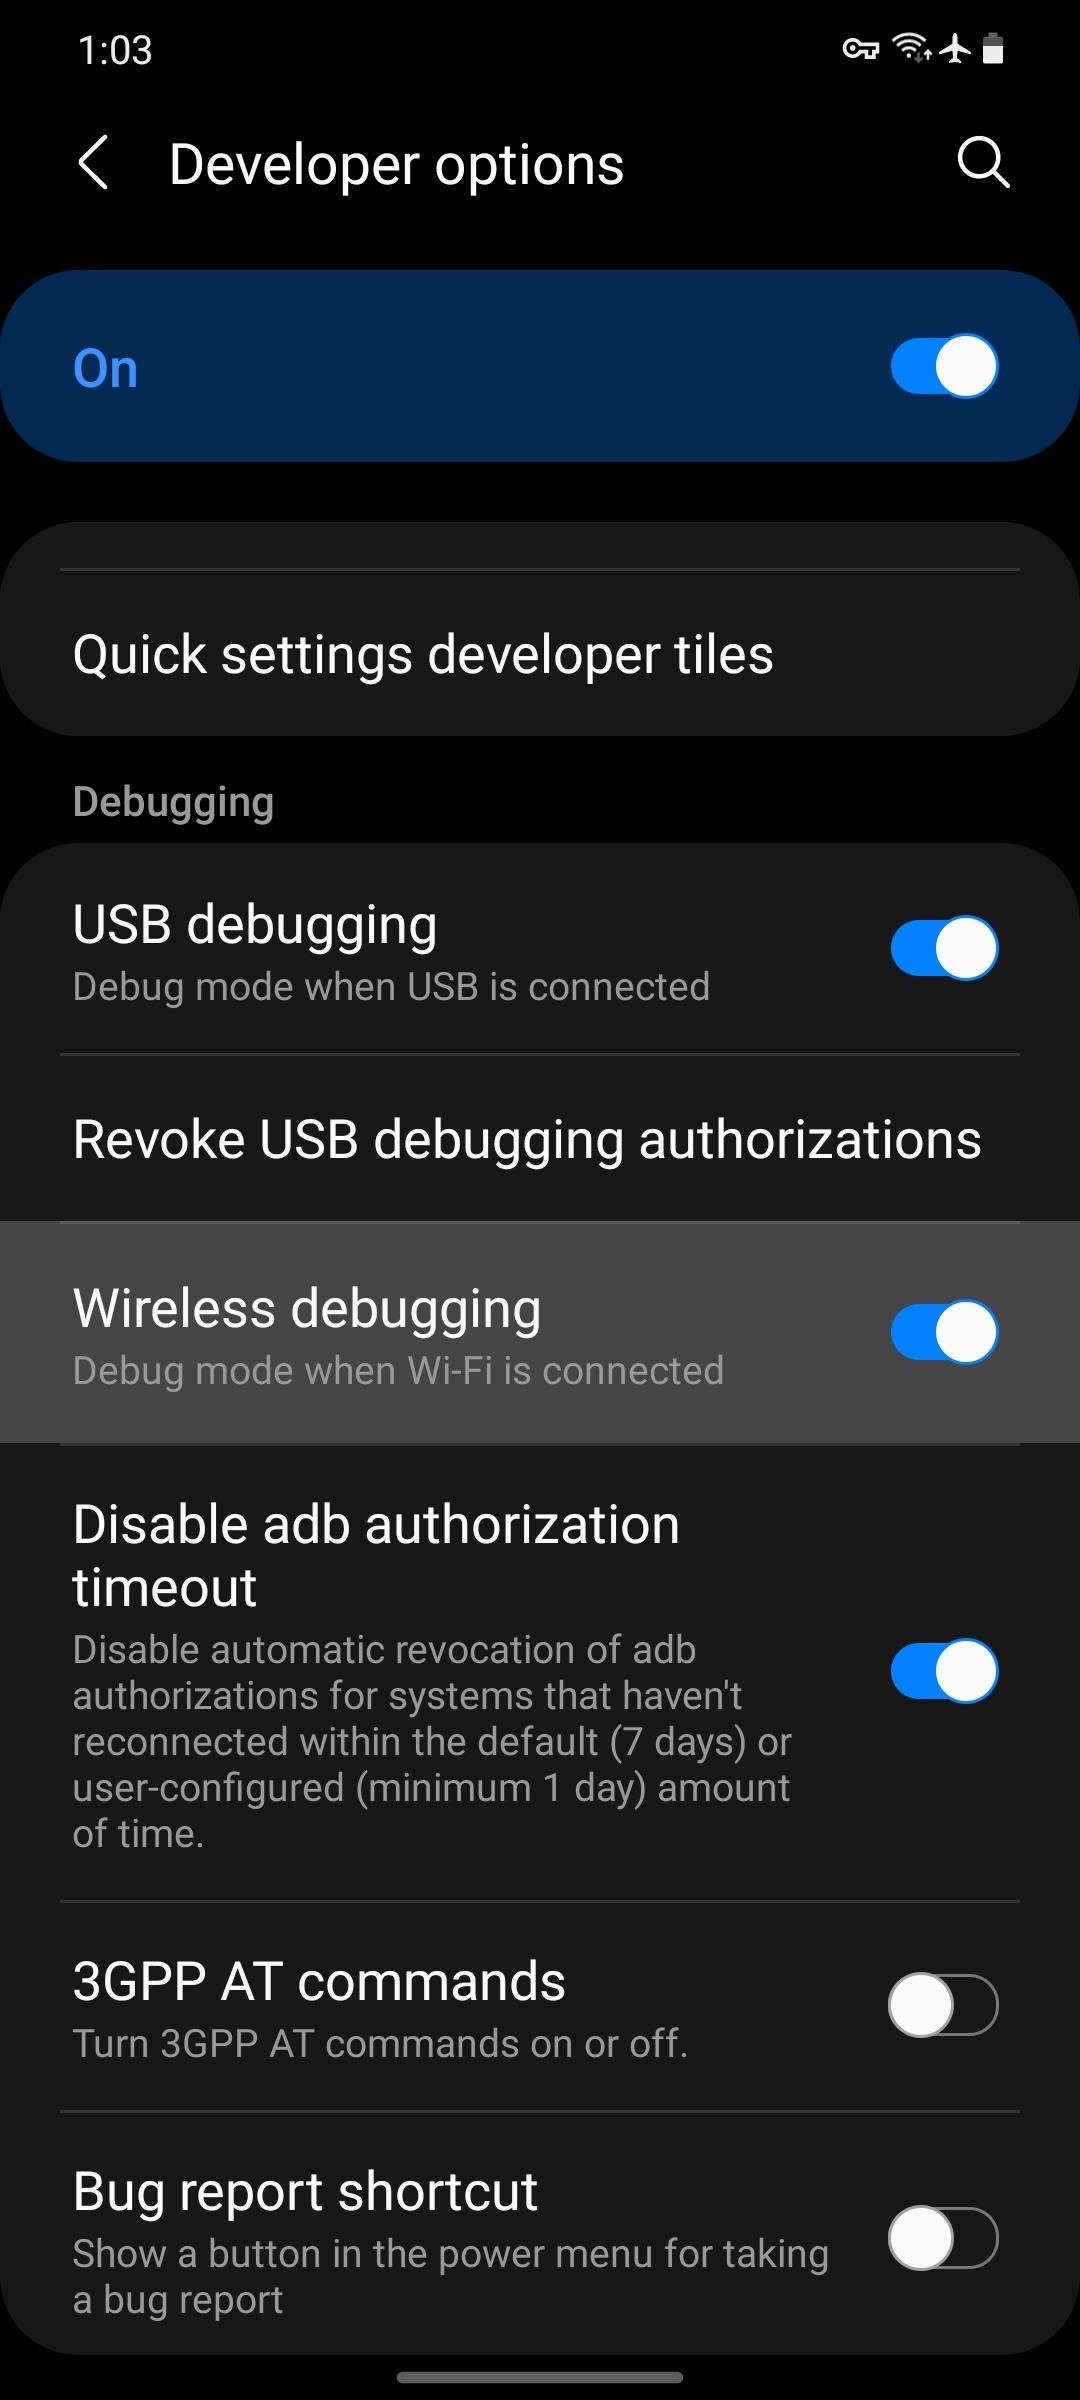
Also of note, this is the part where you'll need access to whatever Wi-Fi network. The Wireless Debugging setting won't allow you to turn it on unless yous're connected to Wi-Fi. The network won't exist used (instead you'll create a virtual network trounce on your telephone), and so it can be literally any Wi-Fi access point, even 1 without cyberspace.
Step iii: Install LADB
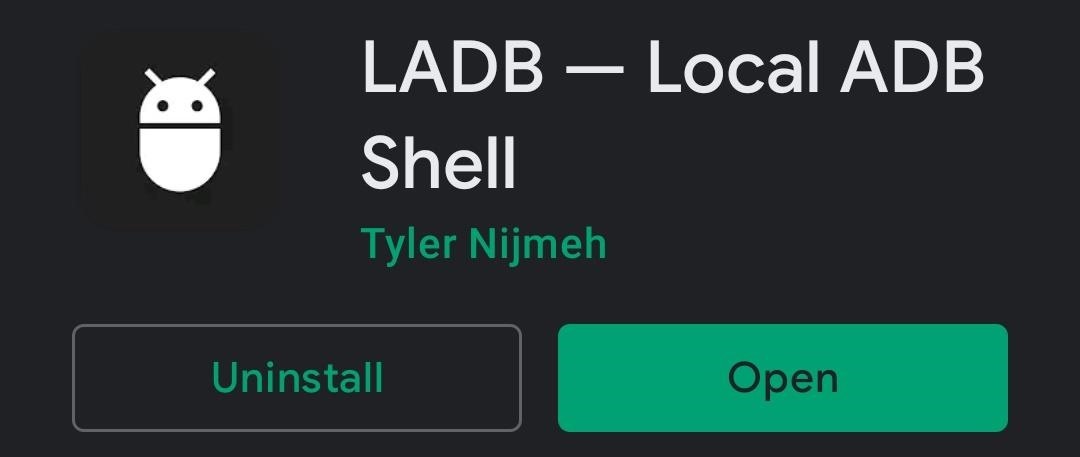
Here's the part that really costs a little money. Instead of using the Wireless Debugging feature through a computer over Wi-Fi, you can use an app called LADB, or Local ADB, to create an ADB server on your phone and connect direct to information technology without a PC.
If you're unable to use the Play Store's billing system or you can't spare the money, you tin visit the projection's GitHub page and compile the app from source, merely be warned that'south a complicated procedure. For everyone else, just grab the app from the Play Shop at the link below!
- Play Store Link: LADB — Local ADB Beat out ($ii.99)
Step 4: Connect to the Virtual Shell
Adjacent, you'll just have to connect LADB's local host to your phone's wireless ADB function. But depending on what Android version you're running, that can exist either incredibly piece of cake or a little clunky. We'll start with the clunky one (newer Android versions), so if you're running Android x or lower, you can skip ahead.
Android 11 & College
Starting with Android 11, the new Wireless Debugging feature is complete. That means it even has a proper security arrangement where yous have to enter credentials to send commands, which complicates things in this instance.
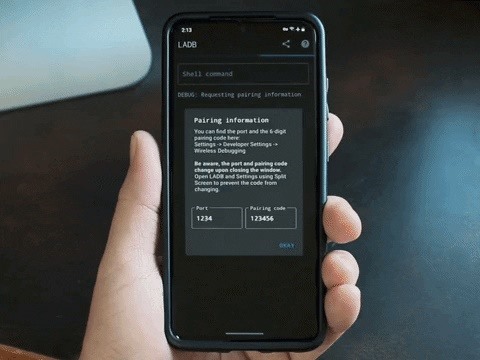
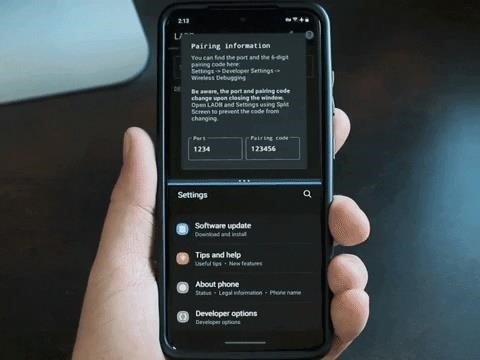
So when you lot commencement launch LADB on Android xi, yous'll encounter a popup request you to input the port number and pairing code. Since the popup in Settings that shows the pairing code was meant to be read on your phone while you're typing it into a computer, the organization automatically changes the pairing code as soon as it closes.
So you'll need to open up your Settings app in carve up-screen view to keep the popup from endmost. While LADB is prompting you for the numbers, enter multitasking view and tap the app's icon at the top of its card, so select "Divide Screen." Next, select the Settings menu from the mini multitasking view that appears to make information technology the second screen. Or if you're on Samsung, select "Settings" from the list.
From there, head back to Settings –> System –> Avant-garde –> Developer Options or Settings –> Programmer Options, and so tap the "Wireless Debugging" text (rather than the toggle) to open the feature's submenu. From there, gyre down and tap "Pair device with pairing code."
At present it's just a matter of copying the numbers over. Under IP address & Port in the Settings popup, you'll see a series of numbers, then a colon, then another number. The number after the colon is what you should enter into the Port field in LADB. Then the pairing code goes in the Pairing Code box and you lot can tap "Okay" in LADB.
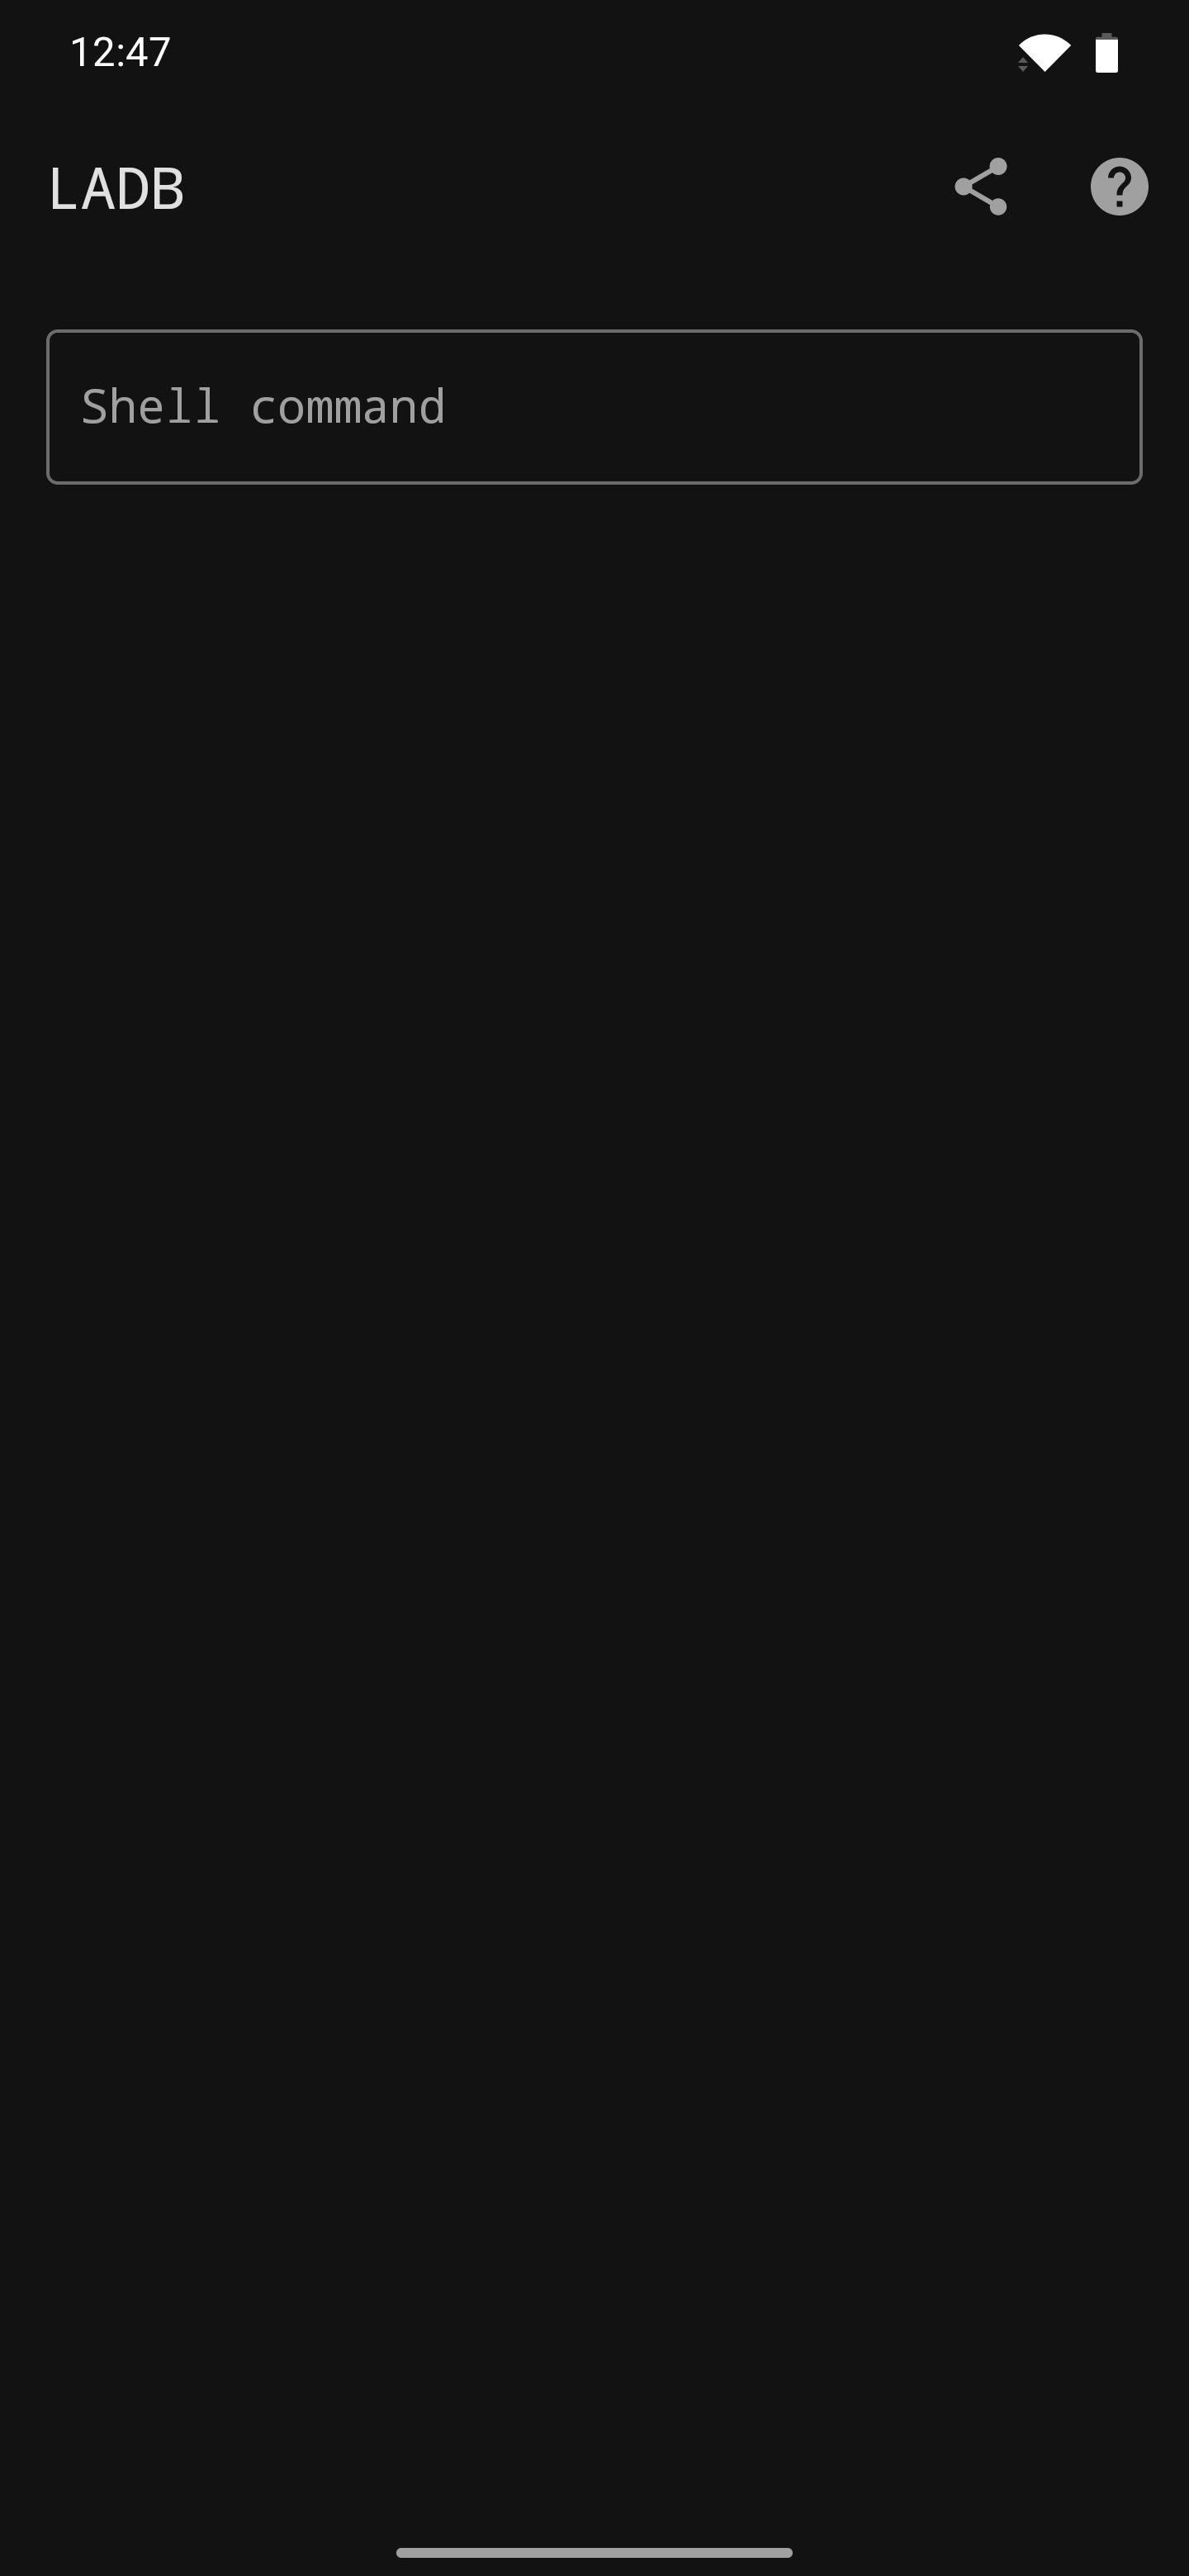
Yous'll see a message in the LADB last proverb "Waiting for device to accept connectedness." This could take up to two minutes, so be patient. When the connectedness is consummate, you should go a notification from Android System telling y'all "Wireless debugging connected."
Android ix & 10
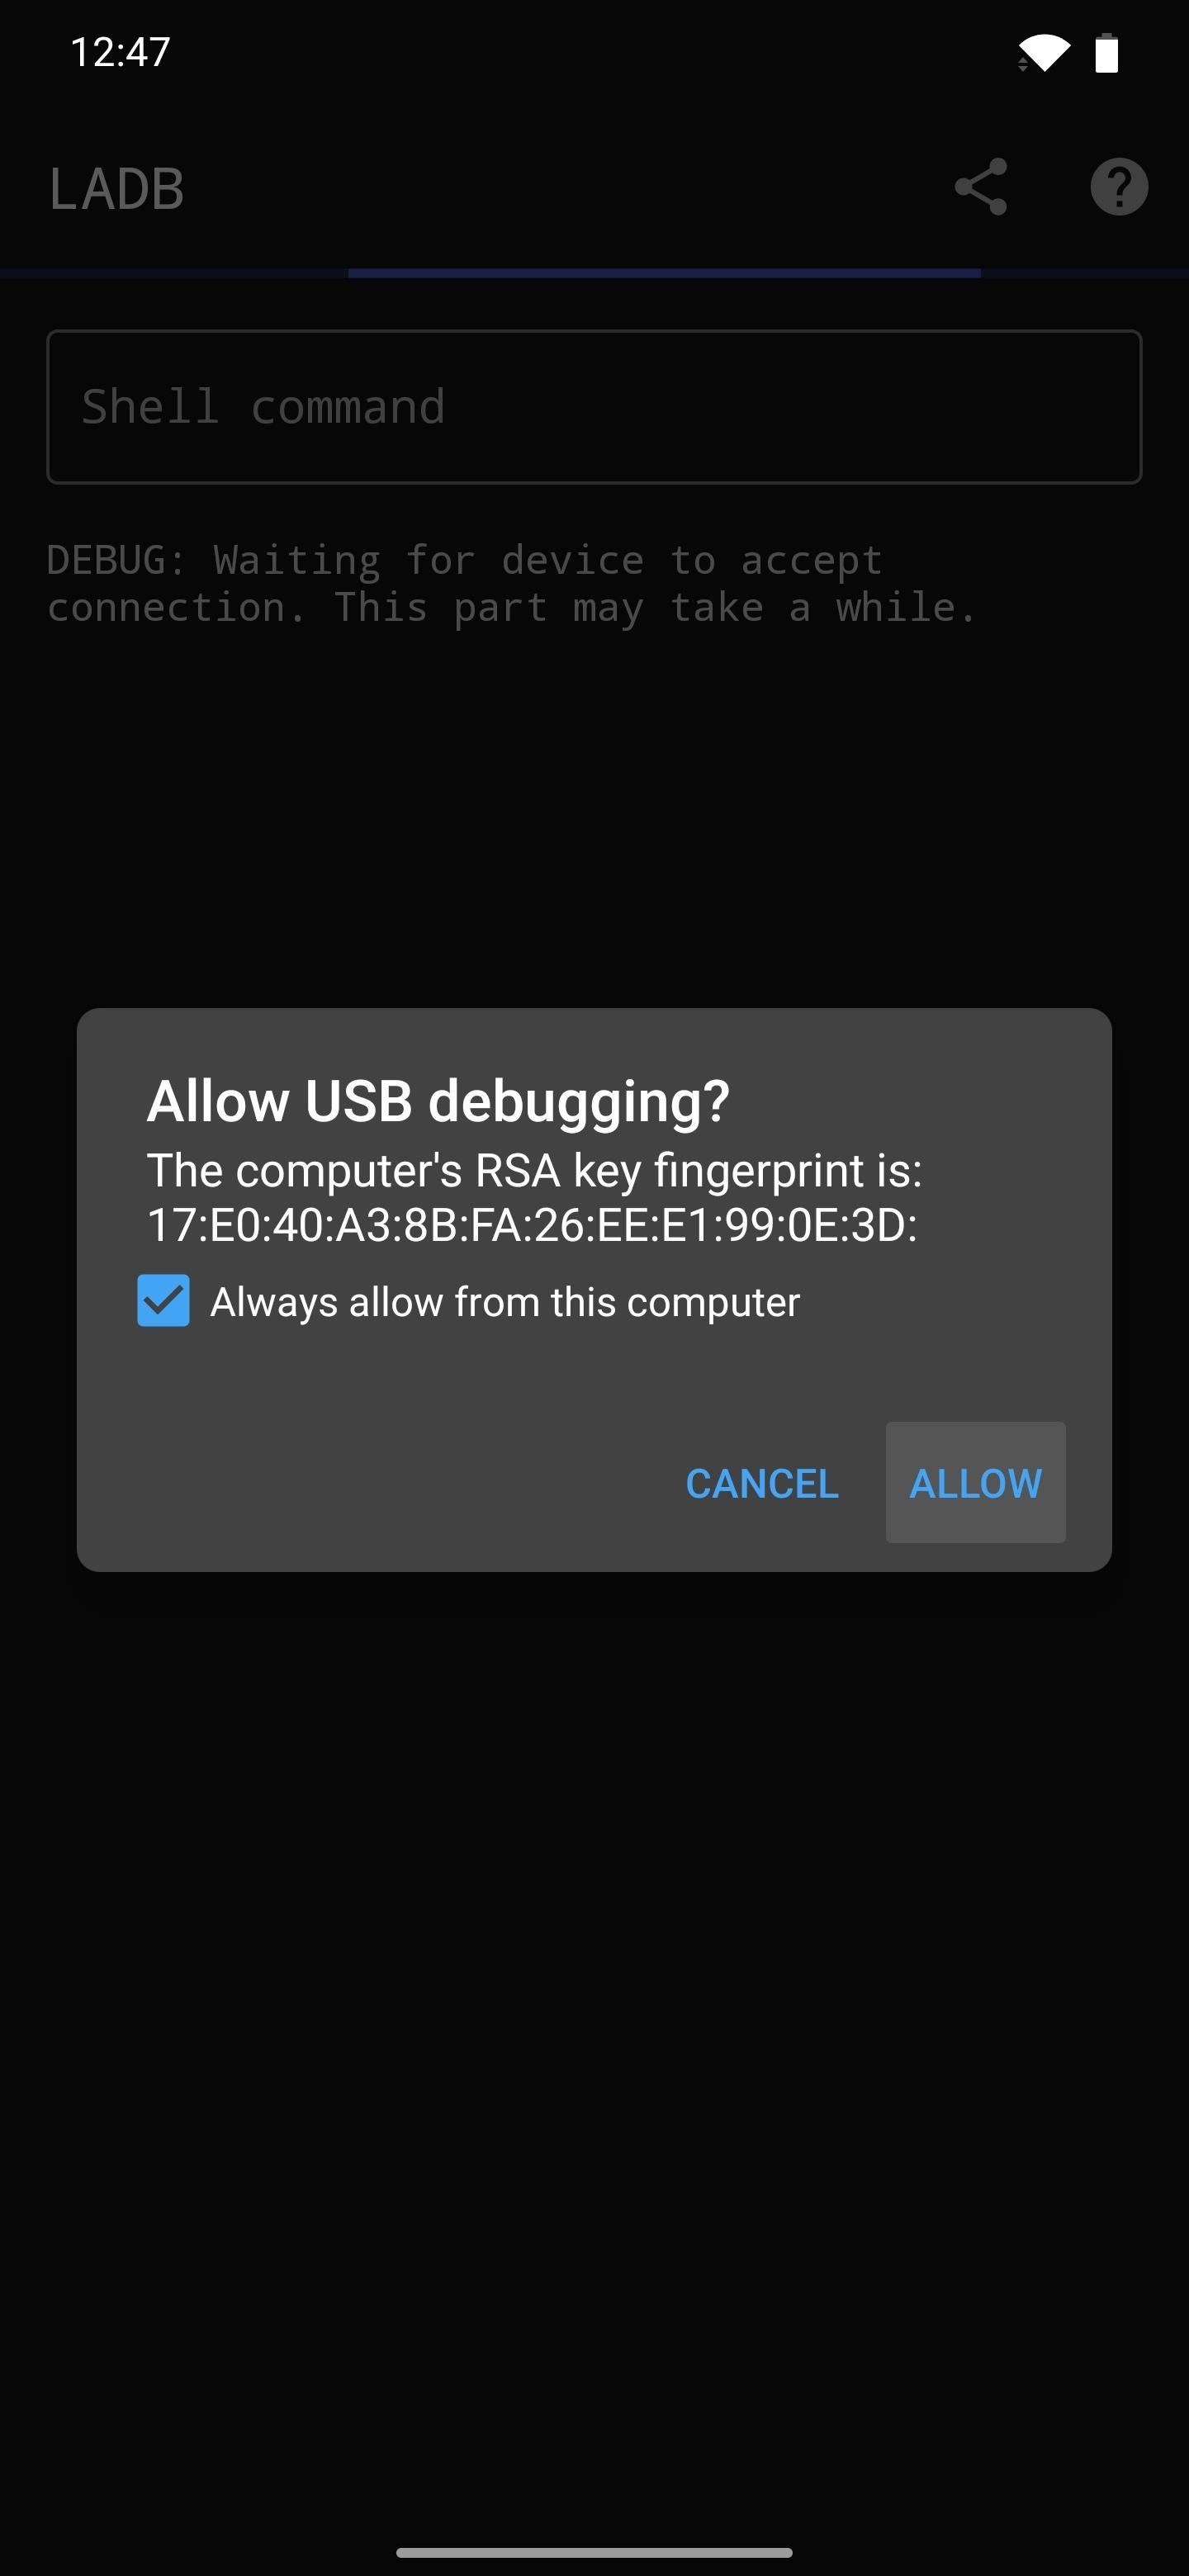
If you're on Android nine or 10, this part is so much easier. Just open the app, and then tick the box next to "Ever allow" and select "Allow" when prompted to "Allow USB Debugging." You'll then be shown the command line, ready to have a command!
Step five: Delete the T-Mobile App
At present you lot're ready to practise some deleting. Long-press the text in the code box below, choose "Select All" from the context menu, then striking "Copy."
pm uninstall user --0 com.tmobile.pr.mytmobile Head back to LADB and paste the above command into the input field at the bottom of the screen, so hit enter on your keyboard. Yous'll see a "Success!" message and yous'll instantly detect that the T-Mobile app is gone from your system.
This method is permanent with ii exceptions. One, yous can reinstall the app past sending the command in the code box below. Two, if you ever manufacturing plant reset your phone, it volition be restored. Other than that, have fun with your less-bloated phone!
pm install-existing com.tmobile.pr.mytmobile Keep Your Connection Secure Without a Monthly Bill. Get a lifetime subscription to VPN Unlimited for all your devices with a one-time purchase from the new Gadget Hacks Store, and watch Hulu or Netflix without regional restrictions, increase security when browsing on public networks, and more.
Buy Now (eighty% off) >
Other worthwhile deals to cheque out:
- 41% off a home Wi-Fi analyzer
- 98% off a learn to code bundle
- 98% off an accounting bootcamp
- 59% off the XSplit VCam video background editor

How To Remove Phone From T Mobile Account,
Source: https://android.gadgethacks.com/how-to/delete-t-mobile-app-from-any-android-phone-no-computer-needed-0384529/
Posted by: garciahiverced.blogspot.com
0 Response to "How To Remove Phone From T Mobile Account"
Post a Comment